01
Licensed & Insured Independent Pros
You're connected with insured, independent contractors, licensed where required, who handle the full install.
If your Birch Bay basement takes on water at the cove joint, one call connects you with a licensed, insured independent pro who manages that water from inside with a proven drainage system.
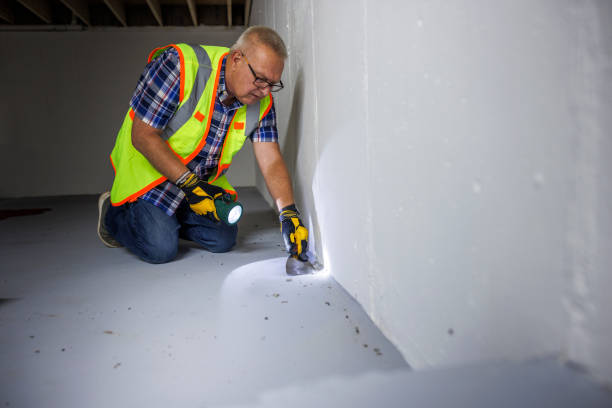
Basements go up in separate pours: footing, then walls, then the floor. The seam where the slab meets the wall, called the cove joint, is never truly sealed. It's a cold joint between two separate pours. When groundwater rises around the house, hydrostatic pressure pushes water up through that seam and through the gap between the footing and the slab.
That's why so many wet basements show water along the bottom edge of the wall first. Sealing the joint from inside rarely works for long, because the pressure behind it doesn't go away. Interior waterproofing takes a different approach: it gives the water a controlled path to a sump pump, so the pressure never builds high enough to push water onto the floor.
It's the go-to fix for most existing basements. It's installed entirely from inside, works in any season and costs considerably less than excavating around the whole house.

Interior drainage systems fail for predictable reasons, and almost all of them come down to installation shortcuts. The first is a trench that doesn't go deep enough. The drain tile needs to sit beside the footing, not just under the edge of the slab, or water still finds its way up through the cove joint.
The second is cheap backfill. Drain tile should be bedded in washed, clean stone so water flows freely. Dirty gravel or reused soil clogs the pipe over time. Some systems also use a filter fabric sleeve on the pipe to keep fine silt out.
Third is pitch and layout. The drain tile has to slope toward the sump, and a long basement may need more than one sump or a cleanout port for future flushing. Ask the contractor how many access points the system has.
And last, the pump needs to fit the job. An undersized pump runs constantly and burns out early. An oversized one short-cycles. A contractor who sizes the pump to your actual inflow and lift height, and adds a backup, is building a system meant to last.

Good interior drainage comes down to careful installation.
You're connected with insured, independent contractors, licensed where required, who handle the full install.
Expect per-foot drain tile pricing and itemized sump and membrane costs in writing.
Local scheduling is usually quick, with prompt inspections and short lead times on installs.
Walk-behind slab saws with water or vacuum dust control, electric jackhammers, HEPA air scrubbers and plastic containment for clean work.
These parts work together as one drainage system.
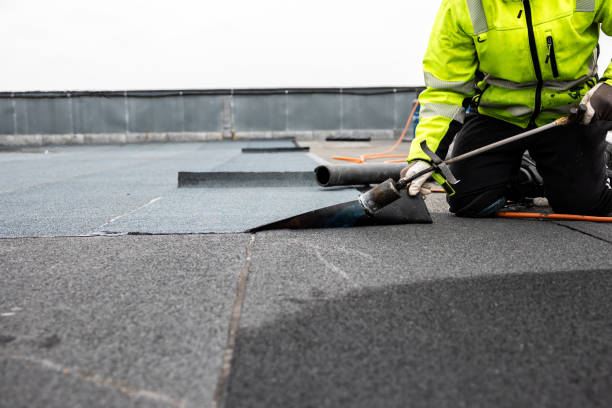
Perforated pipe is set in clean stone in a trench beside the footing, then covered with fresh concrete, leaving a drainage gap at the wall.
The drain tile slopes to a sealed sump basin set below the slab. A submersible pump sized to the expected inflow sends the water out through a discharge line with a check valve.
Dimple membrane on the walls guides seepage down into the drain channel and keeps moisture off future framing.
In block foundations, small holes drilled into the bottom of each core let trapped water drain straight into the new system instead of pushing out through the face of the wall.
A second pump on battery power takes over during outages or if the primary pump fails. A high-water alarm warns you before water reaches the floor.
The discharge pipe carries water well away from the house, with a freeze guard so ice can't back water into the pit.
Interior drainage is usually priced by the linear foot of drain tile, so the size of the basement and how many walls need treatment set the baseline. A partial run along one wall can cost a fraction of a full perimeter. Foundation type matters next, since block walls need weep holes and poured walls don't. Obstacles add labor: finished walls that must be opened, stairs, built-in shelves, the furnace and water heater sitting close to the wall.
The sump package changes the price as well. A single pump in a new basin is the baseline, a battery backup and alarm add to it, and a basement with heavy inflow may need two pumps or two pits. Wall membranes, dehumidifiers and electrical work for a dedicated pump circuit are often separate lines. Ask the contractor to mark the drain tile route and sump location on a sketch so you can compare quotes on the same layout.
It's also worth asking what happens to the concrete and debris. Breaking out a perimeter strip produces a surprising amount of rubble, and hauling it away should be included in the quote. So should the final floor patch, dust containment and cleanup. If you plan to finish the basement later, mention it at the start, because the contractor may suggest a wall membrane or a slightly different drain layout that makes finishing easier and protects the new walls from day one.
Most interior installs take one to three days. Here's how it goes.
Call +1-866-476-1348 and describe where water shows up, how often and whether the basement is finished.
A nearby contractor sets an inspection time quickly.
Expect measurements, a proposed layout for drain tile and sump, and a written, itemized quote.
Once approved, the system is installed with dust control, the floor is patched, debris is removed and you get a walkthrough of the pump, alarm and warranty.
One call connects you with a local independent pro who installs proven interior drainage.
Call +1-866-476-1348Every spring we had a wet line along three walls. They put in drain tile around the whole basement with a sump and battery backup. We made it through the wettest spring in years without a drop.
Mike B., Birch Bay
I was dreading the dust, but they set up plastic walls and an air scrubber. Upstairs stayed clean, and they hauled every bit of concrete away.
Linda Q., Birch Bay
Our block walls were always damp. They drilled weep holes, put up a membrane and ran drain tile to a new sump. Now we're finally finishing the basement.
Chris N., Birch Bay
Two-day job, clear quote, no surprises. The contractor showed me how to test the pump and the backup before he left.
Sofia R., Birch Bay
Drain tile beside the footing catches water and sends it to a sump pump, which pushes it outside. It relieves the pressure that forces water through the cove joint.
You'll see a new concrete strip along the edge. In finished basements it's usually hidden under flooring and baseboard. In unfinished spaces it's visible but clean.
Usually the bottom portion of drywall and framing along the affected walls must be removed so the trench can be dug and the membrane installed. If you want to avoid that entirely, ask about exterior waterproofing.
It's noisy during cutting, but containment keeps dust out of the rest of the house. Most families stay home during the work.
Minimal. Test the pumps twice a year and keep the discharge outlet clear. Some contractors offer annual service checks.
Yes, partial runs are common. The contractor will tell you whether a partial run will do the job or just push water to the next wall.
Calls from across Birch Bay and surrounding communities reach local independent interior drainage pros. Poured, block and stone foundations are all covered.
Local contractors in Birch Bay see every kind of basement, from older block foundations with hollow cores that hold water to newer poured walls that seep only at the cove joint, and they design the drain tile layout and sump location around what they find.
See the zip codes and nearby cities below, or call to confirm.